In this example, the Intelligence hub will:
- Read a PDF from a source folder
- Convert the file information into a format that can be published through MQTT
- Publish the file to an MQTT topic
- Receive the file from MQTT in a second pipeline
- Decode the file contents
- Recreate the original PDF in a Target folder
Prerequisite Steps
Part 1: Create the Folders
-
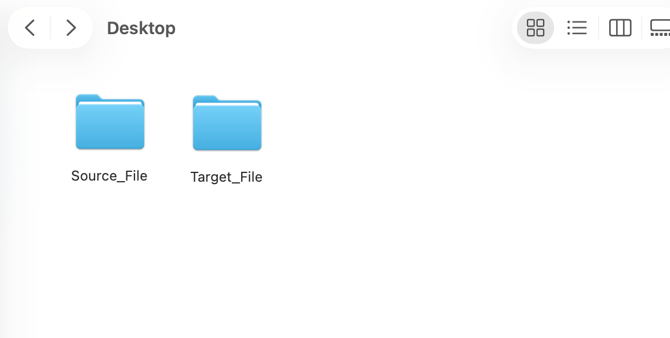
For this example, create two folders. One folder will contain the original PDF: Source_File.
-
The other folder will receive the recreated PDF: Target_File
-
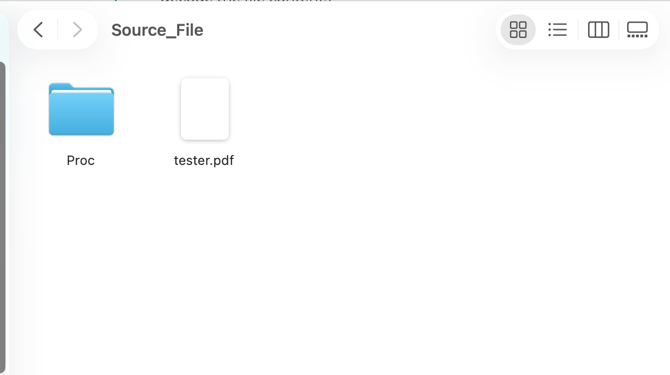
Place a test PDF inside Source_File. The example used is named tester.pdf.
Part 2: Create the MQTT Connection
- Go to Configure on the left side panel, and click into Connections
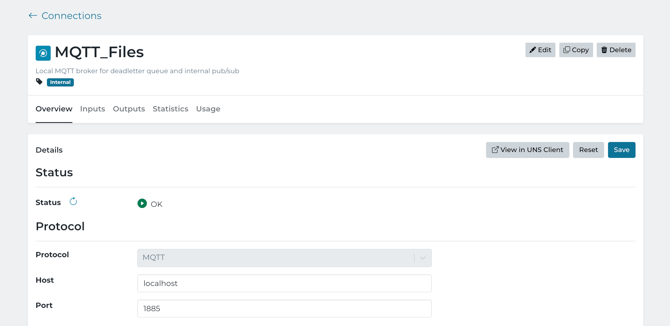
- Create a new connection and put the protocol as MQTT
- Name it: MQTT_Files
- The Intelligence Hub local broker URI is: mqtt://localhost:1885
- Save the connection
Part 3: Create the Source File Connection
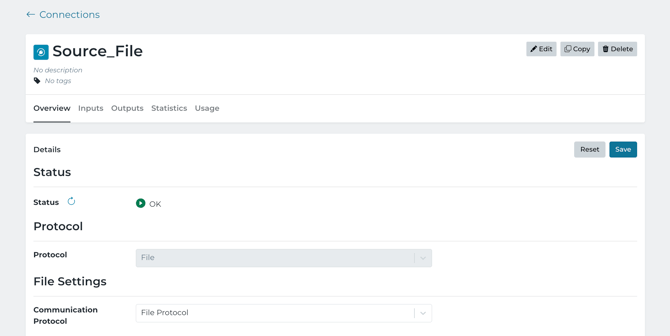
- Create a new connection with the protocol set to File
- Name it: Source_File
- Set the File Directory to the folder containing your source PDF; this will be dependent on the user and where the folders are stored.
Part 4: Create the Target File Connection
- Create another File connection
- Name it: Target_File
- Set the File Directory to your target folder
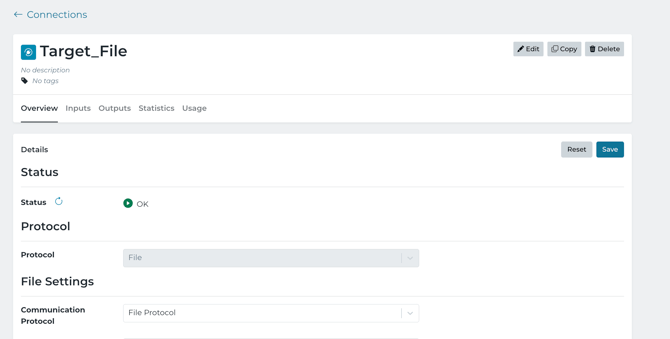
Part 5: Create the PDF Input
- Open the Source_File connection
- Create a new input, and name it: Read_PDF
- Change the File Search Type to: Regex
- Enable: Include Metadata and Include Process File
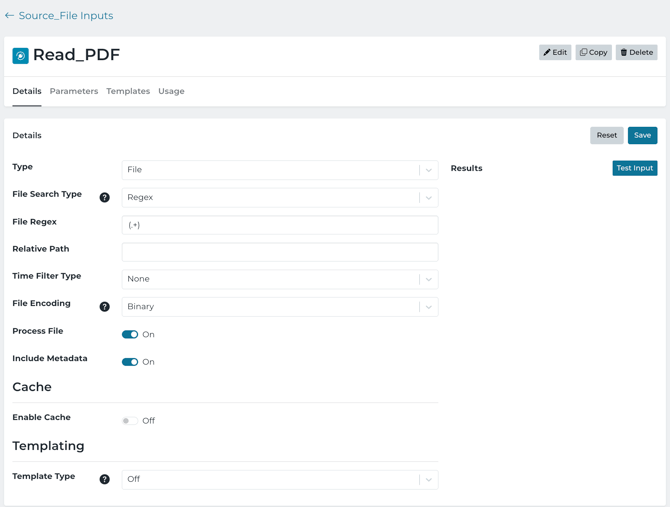
Part 6: Create the MQTT Input
- Open the MQTT_Files connection
- Create a new Input and name it: File_Input
- For Input type, use: Last Publish
- For the MQTT topic, enter: Output/#
- For Payload Type, select: JSON
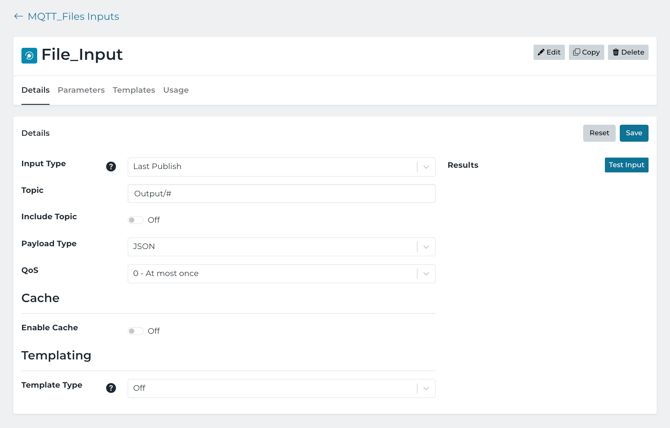
Part 7: Open the UNS Client
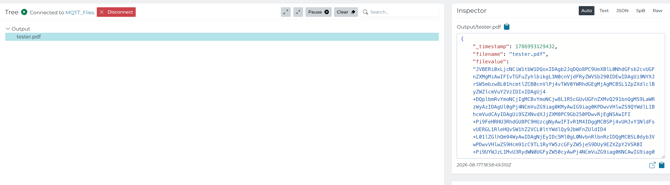
- Open the UNS Client on the left-side panel and click into MQTT_Files
- Click Connect to test it is working
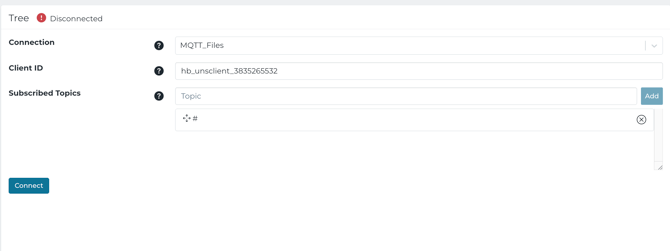
Building Pipeline 1
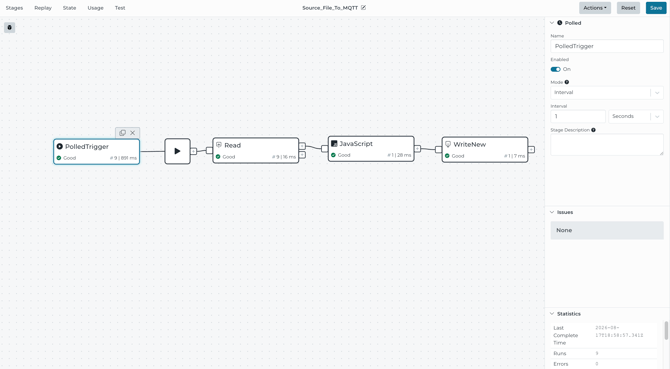
Creating the pipeline for the Source to MQTT
- Create a new pipeline and name it: Source_File_To_MQTT
- Insert a Polled trigger, and keep the interval set to the default of 1 second.
- This will allow the pipeline to check the source File input
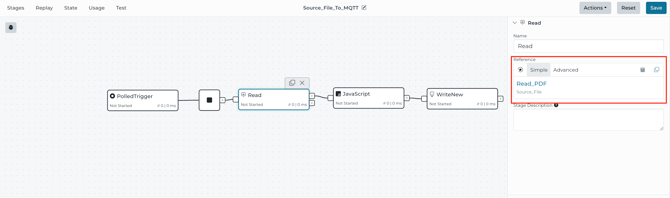
- Add a Read stage
- For reference, select Source_File > Read_PDF
- The read stage read the PDF from the source directory
- For reference, select Source_File > Read_PDF
- Add a JavaScript Stage and paste the following
stage.setValue({filename: event.value._filename,filevalue: event.value.value});
-
- This stage create a simpler object for MQTT
- Add the MQTT Write New Stage
- Use the connection: MQTT_Files
- For a topic, enter the following: Output/
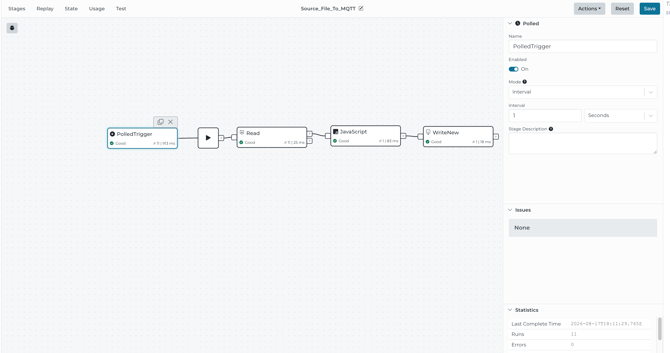
Test the Pipeline
- Place a PDF inside Source_File folder
- Enable the Source_File_To_MQTT pipeline
Building Pipeline 2
Creating Pipeline for MQTT to Target File
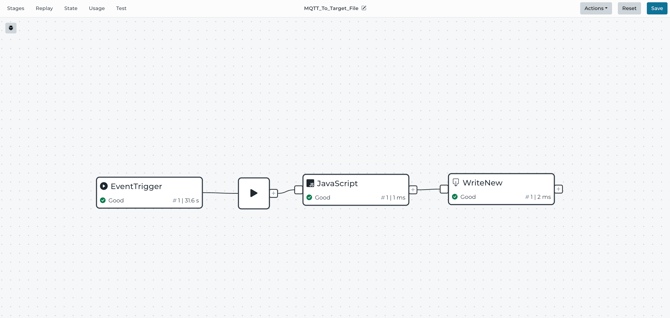
- Create a new Pipeline and name it: MQTT_To_Target_File
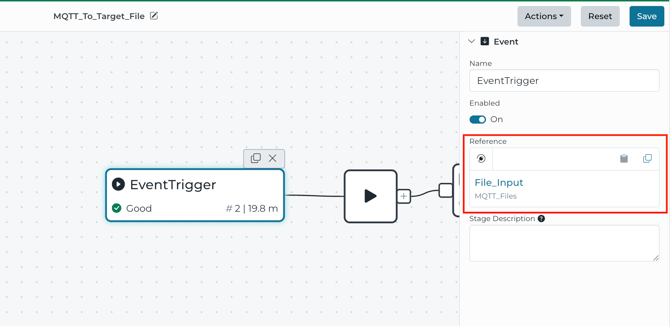
- Add an Event Trigger, and for the reference, select: MQTT_Files and click on the Input Files_Input
- Add a JavaScript Stage after the start block, and enter the following
stage.setMetadata("filename", event.value.filename);stage.setValue(event.value.filevalue);
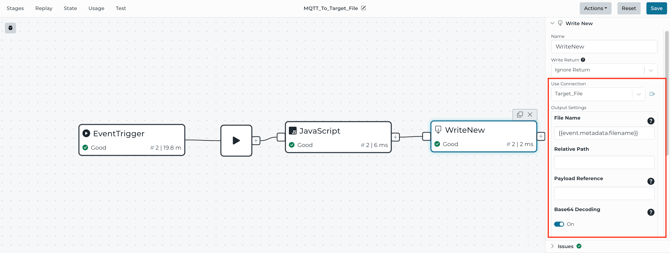
- Insert a Write New stage after the JavaScript stage
- For the connection, use: Target_File
- Configure the file name:
- Enable: Base64 Decoding
-
The finished configuration uses the filename stored in metadata, leaves Payload Reference unset, and enables Base64 decoding.
-
Test the Complete Transfer
- Now test the complete process and enable pipeline 1, which is the Source_File_To_MQTT
- Then, confirm you see if get picked up by the pipeline MQTT_To_Target_File
- Then, click into the UNS Client, and you should see the Output for the tester pdf
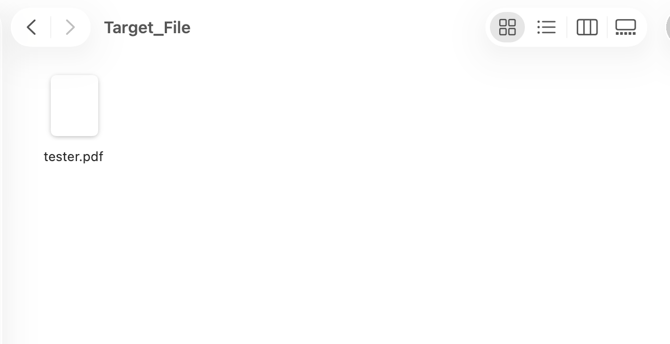
- Finally, open your Target_File directory, and you should see the original pdf which is tester.pdf, which contains the same contents as the original file