What Does This Article Cover?
i3X is an integration standard that promotes open integration between manufacturing systems. i3X is short for Industrial Information Interoperability eXchange. Its development has been led by CESMII (https://www.cesmii.org/), and HighByte is a member of the working group that helped develop the standard. Capabilities were added to the 4.5 release to enable Intelligence Hub to act as an i3X server and to connect to other i3X servers via the new i3x Connection.
Enable i3X Server
The i3X server is enabled under Settings / Application Settings. The i3X server uses the same port as the HTTP server. If you want to change the port, you need to change the HTTP server port. In addition, a Bearer Token is needed to authenticate to the server. The Bearer Tokens are defined as API Keys on a user.
i3X Explorer
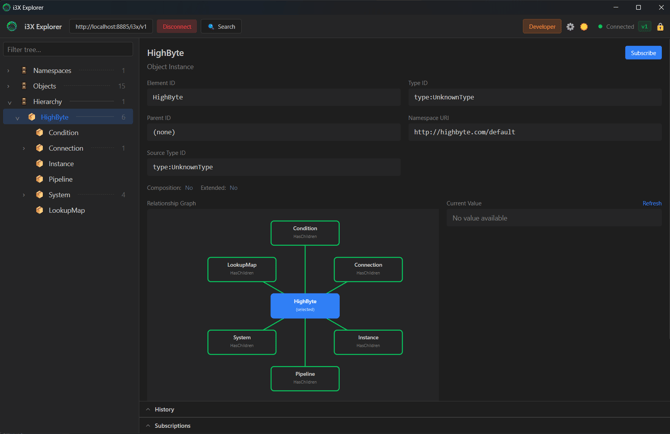
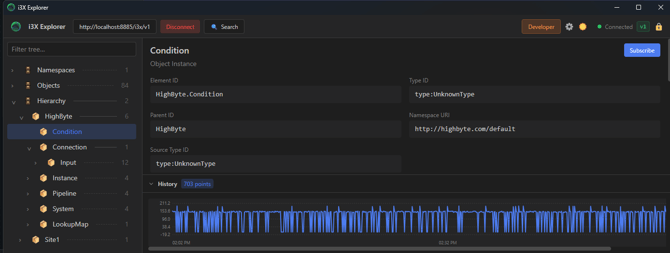
i3X Explorer is a desktop client for browsing and monitoring i3X servers. i3X Explorer can be downloaded from this link. Once it is installed, you can connect to HighByte's i3X server. Connect using the i3X URL and the Bearer Token. Once connected, select the HighByte hierarchy under Hierarchy. This shows the main components of HighByte as well as their relationships to one another.
Configuration
Here is a download of the configuration used in this article. Download the configuration and import it into Intelligence Hub.
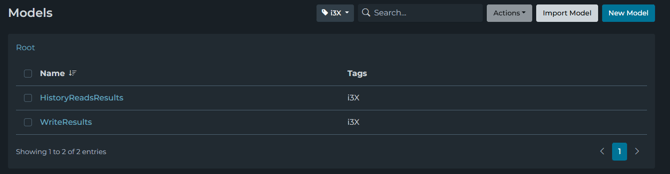
The configuration has two models.
- HistorialReadResults defines the model based on the i3X standard to return Historial Read Results.
- WriteResults defines the model based on the i3X standard to indicate whether a write has been successfully executed.
-
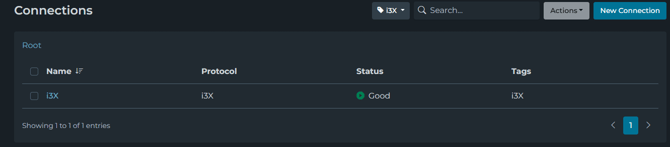
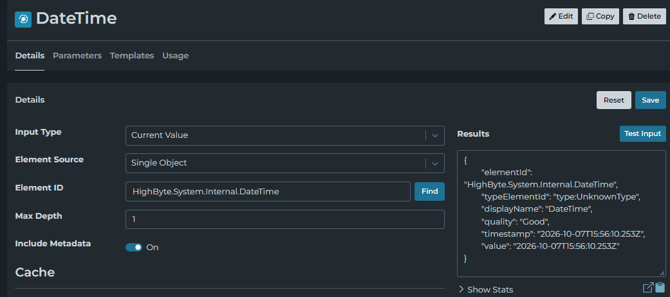
i3X is an i3X connection that connects back to the HighByte i3X server. This connection is set up to use stream (event-based) data.
- The i3X connection has one input. This input captures changes in HighByte.System.Internal.DateTime. This input is used with the i3XDateTimePipeline to receive updates as the HighByte.System.Internal.DateTime changes.
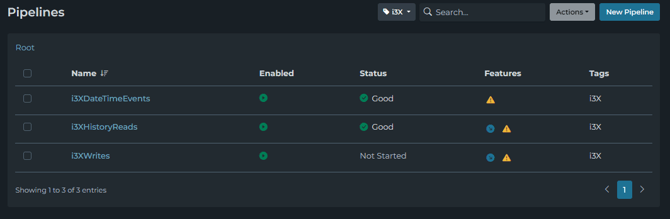
The configuration has three pipelines.
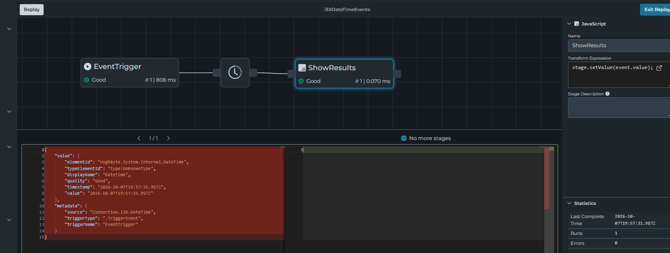
- i3XDateTimeEvents - This is a sample pipeline receives an event when HighByte.System.Internal.DateTime changes.
- i3XHistoryReads -This is a sample pipeline that provides an example of how to model and return history reads back to the requesting application using i3X. This pipeline returns the history read in HistoryReadsResults model format.
- i3XWrites the message structure for an acknowledge back to MSI after receiving message. The result is formatted in WriteResult model format.
Update i3X Service
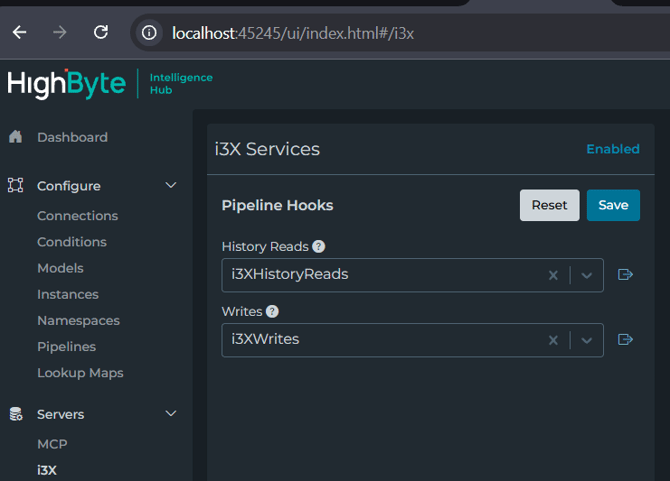
The i3X service has pipeline hooks to provide capabilities that are defined in the i3X standard. The pipeline hooks are configured under Servers / i3X. Set the History Read pipeline to i3XHistoryReads and the Writes to i3XWrites, then press Save.
Test History Reads
To test the History Read capabilities, select any node on the HighByte hierarchy and press the Load History button.
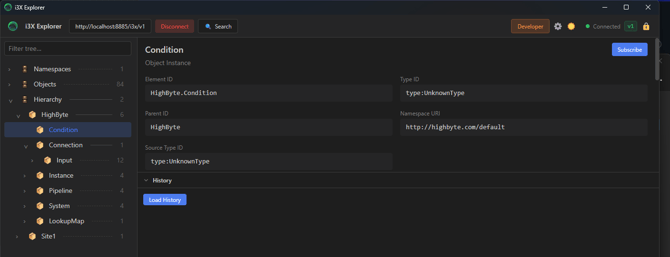
This will trigger the i3XHistoryReads pipeline. The input will be an array that contains a single element with elementId, startTime, endTime, and maxDepth. The elementId will be the id of the selected node, the startTime will be one hour before the current time, endTime will be the current time and the maxDepth will be 1.
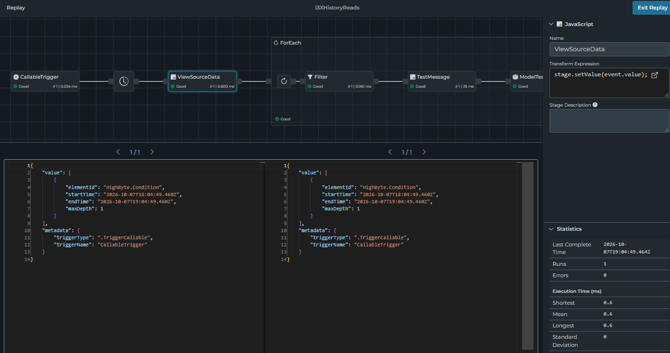
The pipeline has a static set of values that will be converted to the current time range. The results are returned in the HistorialReadResults model format. The results will be displayed in the i3X Explorer.
Test Writes
The i3X Explorer does not enable writes, but the i3X standard does. This can be tested using Postman. Here is a link to a Postman collection. This collection was created based on the i3X API Documentation.
If you import the collection into Postman, you will see a collection named i3X API 1.0 with several folders.
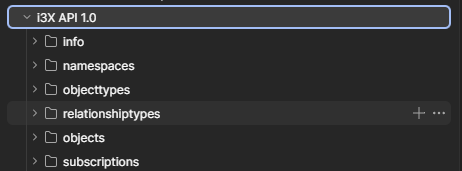
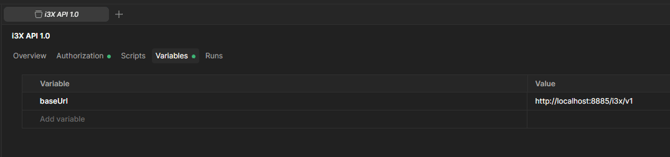
Select the i3X API 1.0 collection and navigate to the Variables tab. Here, you need to set the baseUrl. This is the URL that connects to the Intelligence Hub i3X service. The URL can be found in Intelligence Hub under Settings / i3X.
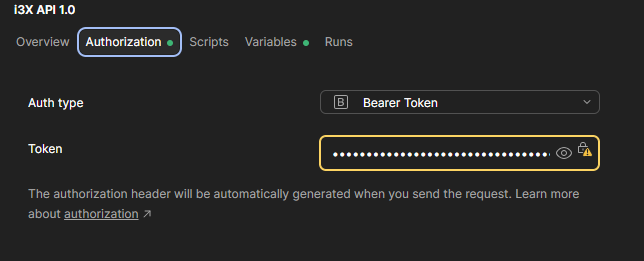
Next, you will set the Bearer Token under Authorization. Set the Auth type to Bearer Token and set Token to the API Key that you created for your user.
To update a value, select objects / value / Update Values of Objects from the folder structure. Here, if you specify a valid elementId (e.g., "HighByte.Condition") and press Send, you should get a successful response.
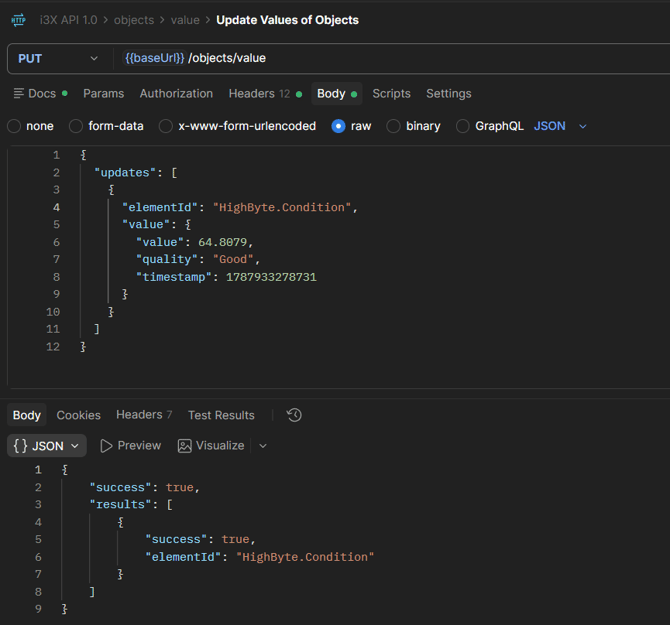
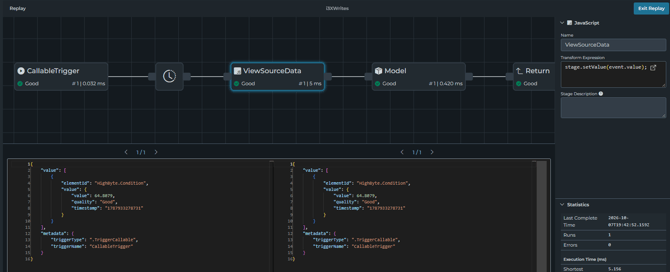
The Update Values of Objects method will call the i3XWrites pipeline in Intelligence Hub. This sample pipeline is set up to return a successful response. In practice, you will set up the pipeline to send the update to the destination system and then return a response on whether the update was successfully delivered.
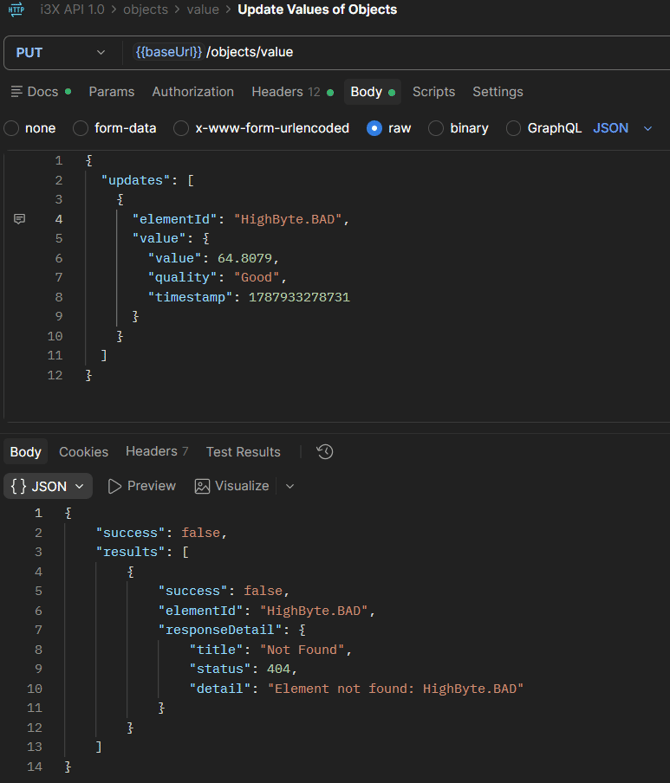
The i3X interface will also validate the elementId. If an elementId is provided that does not exist in the i3X hierarchy, the request returns an unsuccessful response and never calls the i3XWrites pipeline.
Subscriptions
i3X also provides the ability to subscribe to data changes. These subscriptions can be either polled or streamed. Both of these options are available using the i3X Explorer. The node needs to be linked to an input, instance or pipeline to use subscriptions.
In the example below, the subscription is enabled on the DateTime input on the i3X connection. To set up the subscription, select the Subscribe button in the upper left-hand corner. This will populate the subscription under the subscriptions section at the bottom. Then press Start to begin receiving subscription updates. The updates will be automatically displayed.
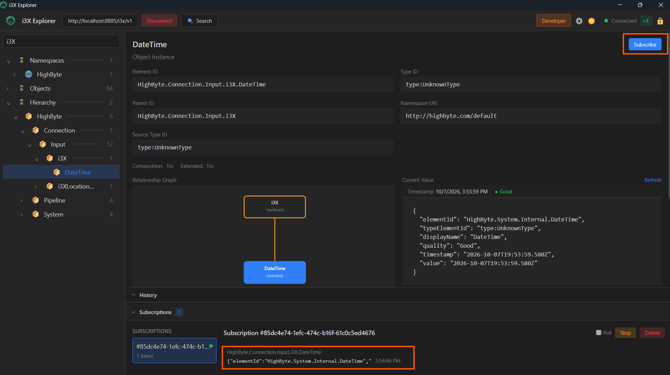
The configuration also has a pipeline that will receive subscription events. The i3XDateTimeEvents pipeline will receive data changes based on the DateTime input on the i3X connection.